Getting Started with Jenkins

I am a Certified AWS Cloud Practitioner and heading towards becoming a Devops Engineer.
What is Jenkins?
Jenkins is a popular open-source automation server that is used for building, testing, and deploying software.
Jenkins is written in Java and provides over 1,500 plugins to support the automation of various software development processes, such as continuous integration (CI) and continuous delivery (CD). It supports a wide range of software development tools and languages, including Java, Ruby, Python, Node.js, and more.
Jenkins is widely used in software development organizations to automate their build and deployment processes, increase efficiency, and reduce errors. It is known for its flexibility and extensibility, which allows developers to customize and tailor it to their specific needs. Additionally, Jenkins has a large and active community that provides support, plugins, and documentation.
For more information visit Jenkins.
Task
- Create a freestyle pipeline to print "Hello World!! Hint: Use the link for the Article.
In this task, we will install Jenkins using an AWS EC2 instance.
Set up your Ubuntu server and connect it through CLI.
To install Jenkins on your server simply follow these steps.
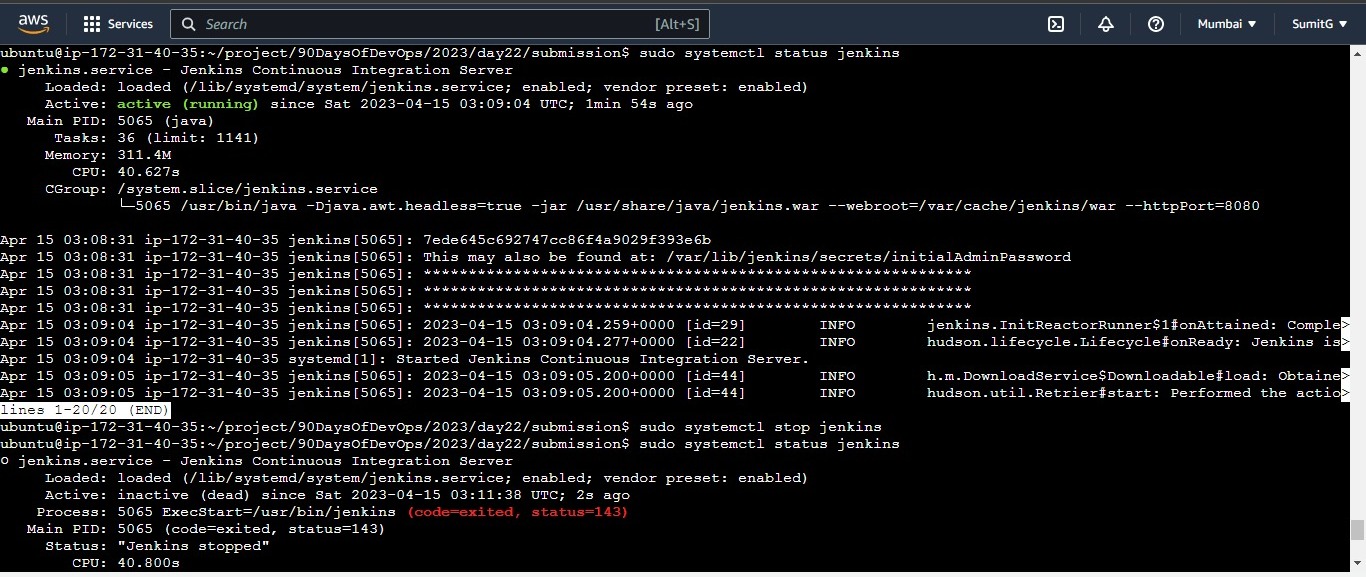
Start Jenkins
sudo systemctl enable jenkinssudo systemctl start jenkinssudo systemctl status jenkinsafter starting, the status of Jenkins should be active and running.
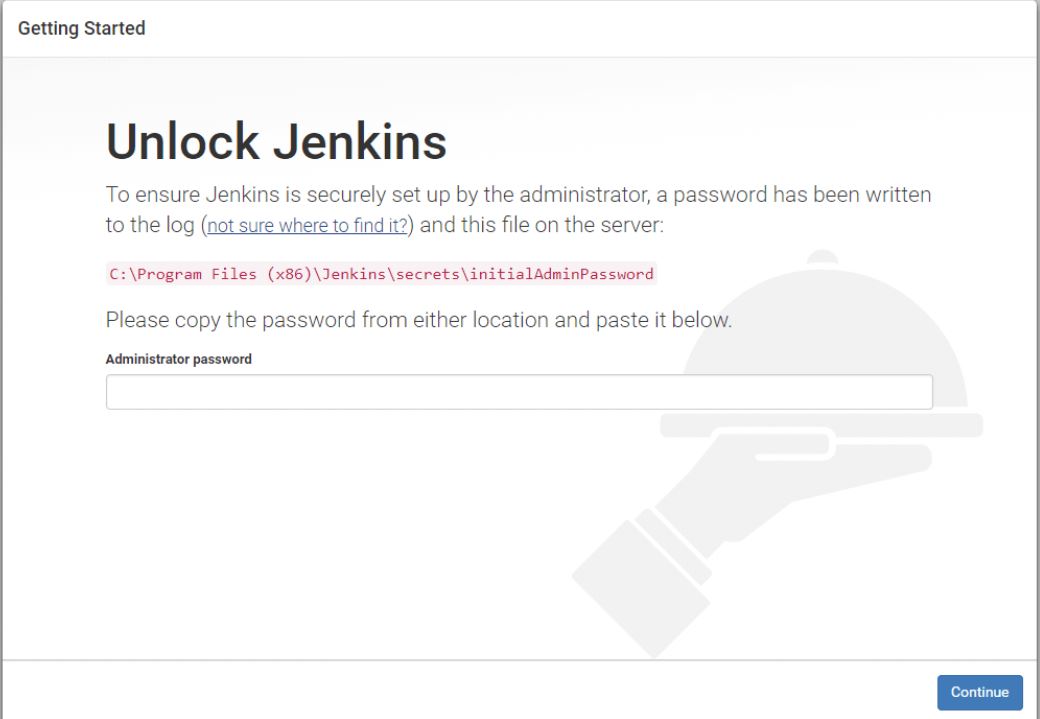
Open port 8080 from AWS Console: (ex. your servers IP add:8080)
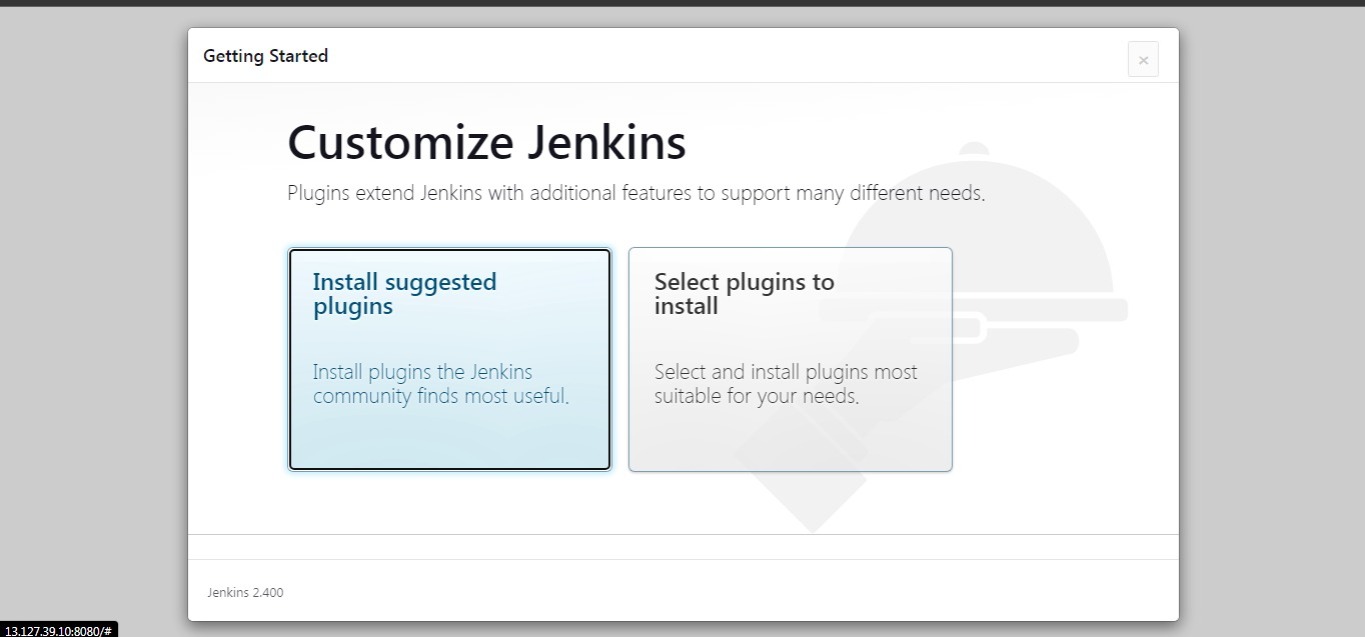
Install Suggested plugins
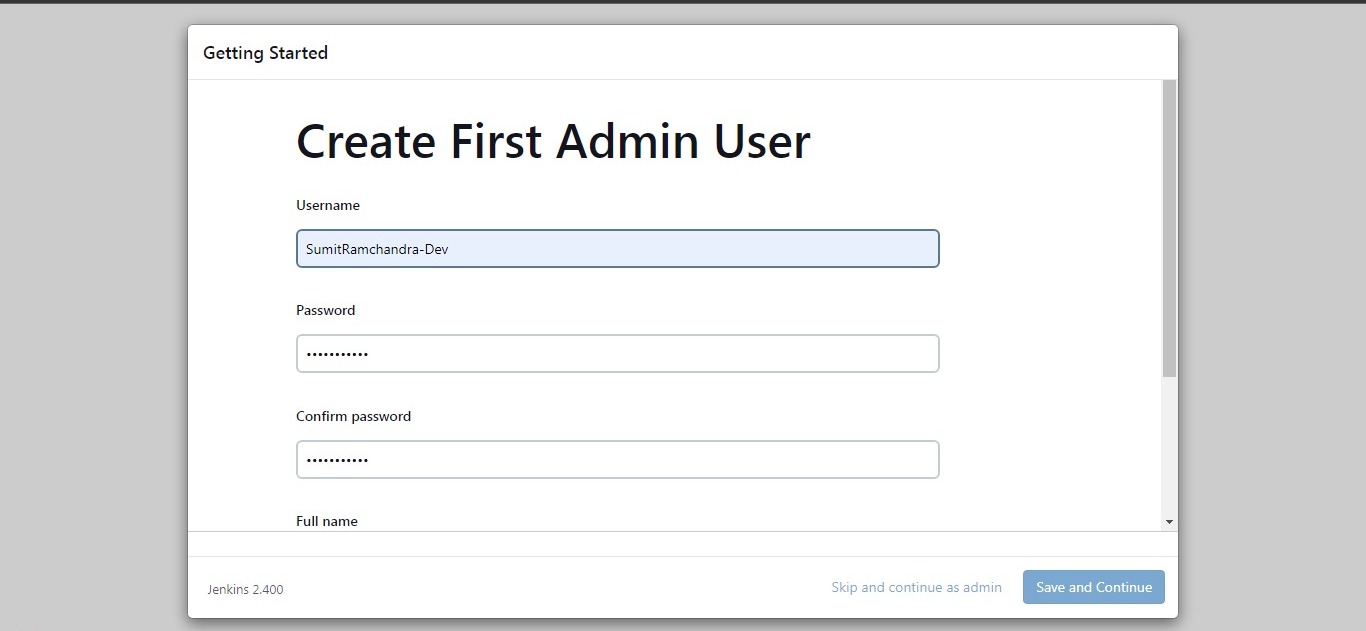
Complete your Jenkins setup to create Admin User
- After completing the setup you can see the Jenkins dashboard
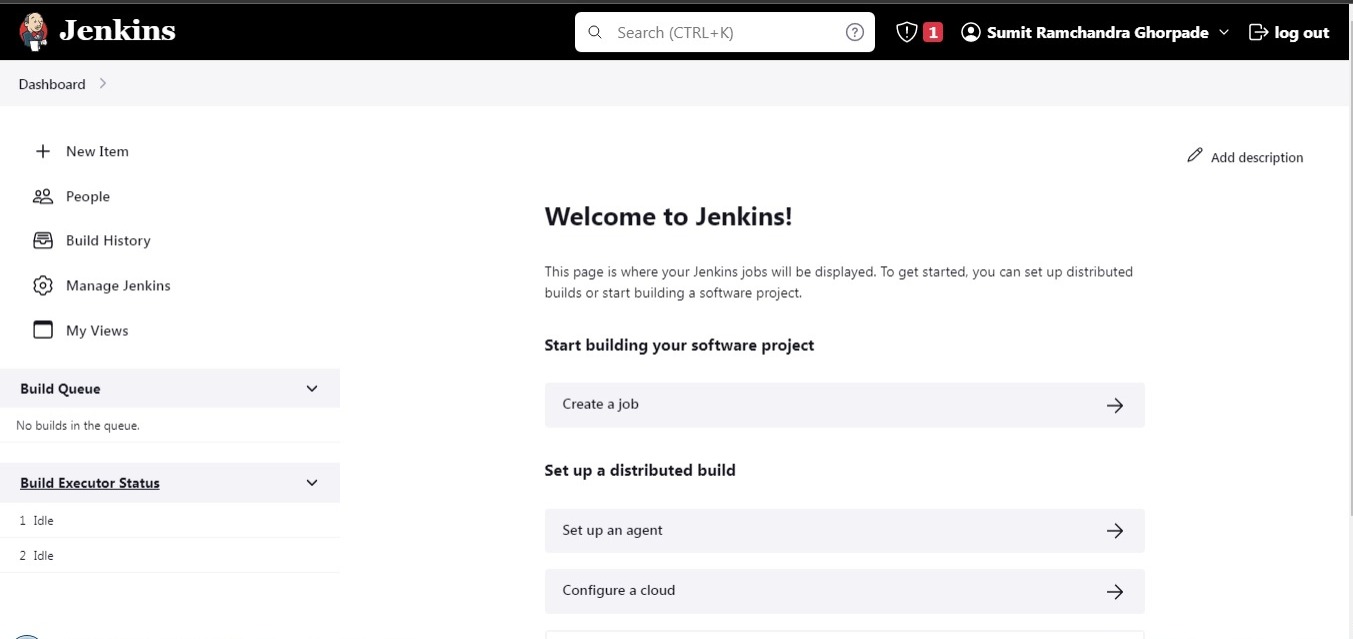
- Now, let's create a simple freestyle project.
- to create a new project click on Create a job on the dashboard and select a freestyle project.

- After this, you will reach a page where you have different options(like source code management, build triggers, etc. ) that help you manage your job.
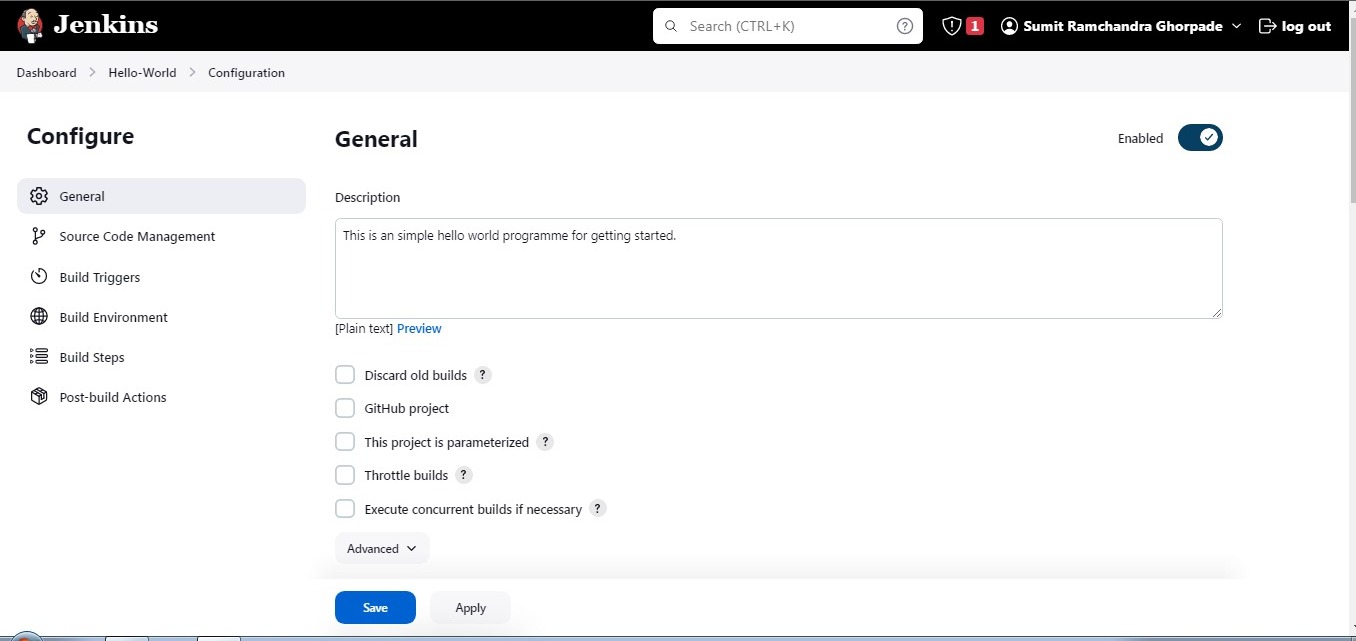
provide some description as per your need
choose none in source code management as we are creating a very simple project.
Select execute shell option in the build step and enter some commands Keep all other options unchecked as at this point we do not need to use any of them.
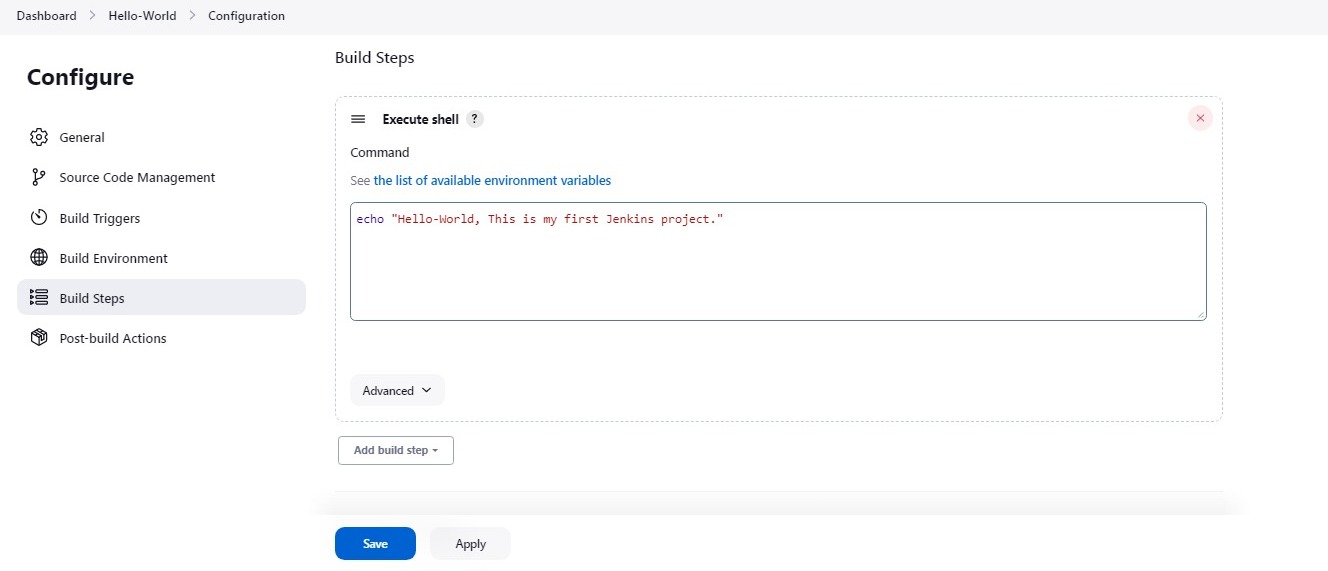
Then click apply and save. So, your job is created.
- Now, we will run it for which click the ‘build now’ option and a building history will be created then click on it.
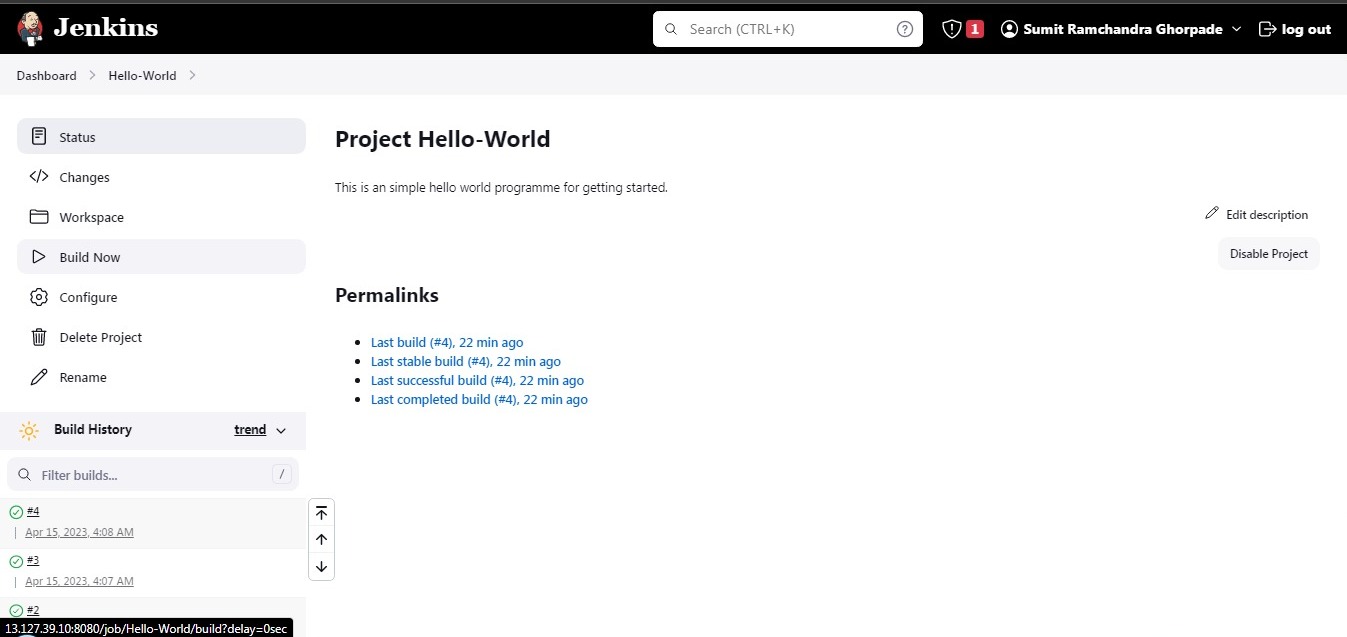
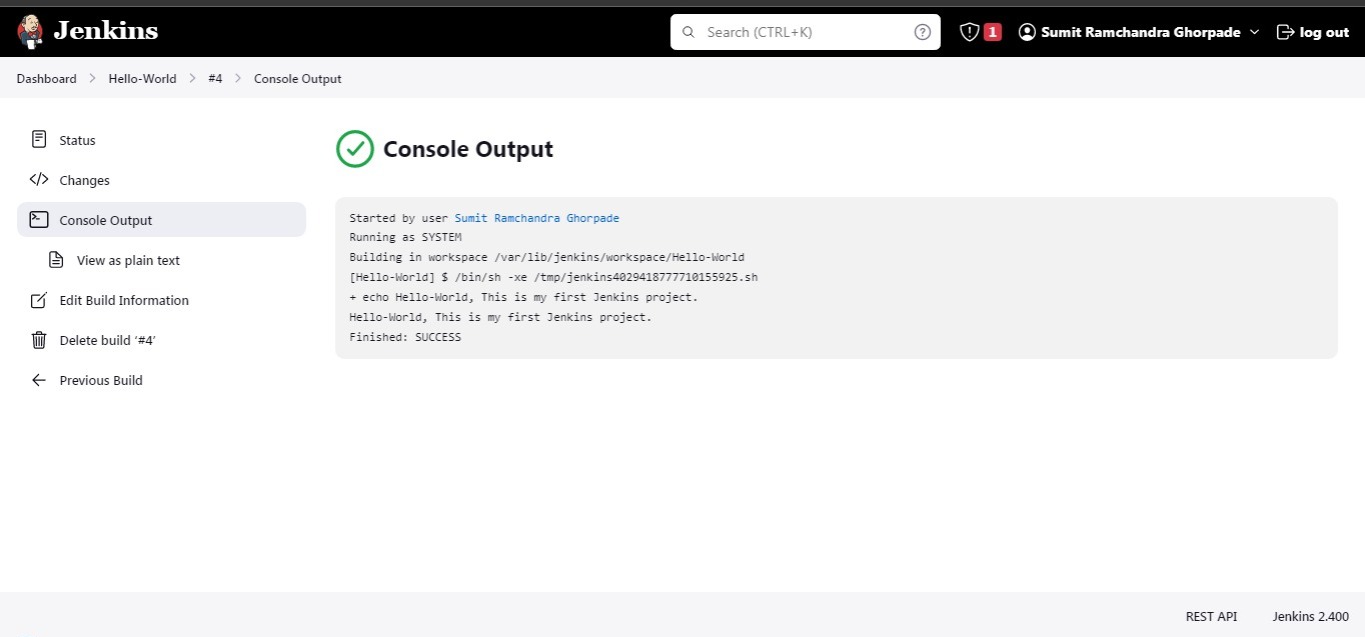
- Now, Click on console output, and you can see your output. Also, by console output, you can see whether your job is failed or been successful.
In this way, you can create a freestyle project.
~~~~~~~~~~~~~~~
Hope you find this helpful.
Thanks for Reading.
Happy learning !!!
Suggestions are always welcome.
Thank You - Shubham Londhe


