Complete Jenkins CI/CD Project

I am a Certified AWS Cloud Practitioner and heading towards becoming a Devops Engineer.
Let's make a complete CI/CD project for your Node JS Application.
Task-01
- Fork this repository:

- Create a connection to your Jenkins job and your GitHub Repository via GitHub Integration.
we will use Personal Access Token for integrating your Jenkins and Github.
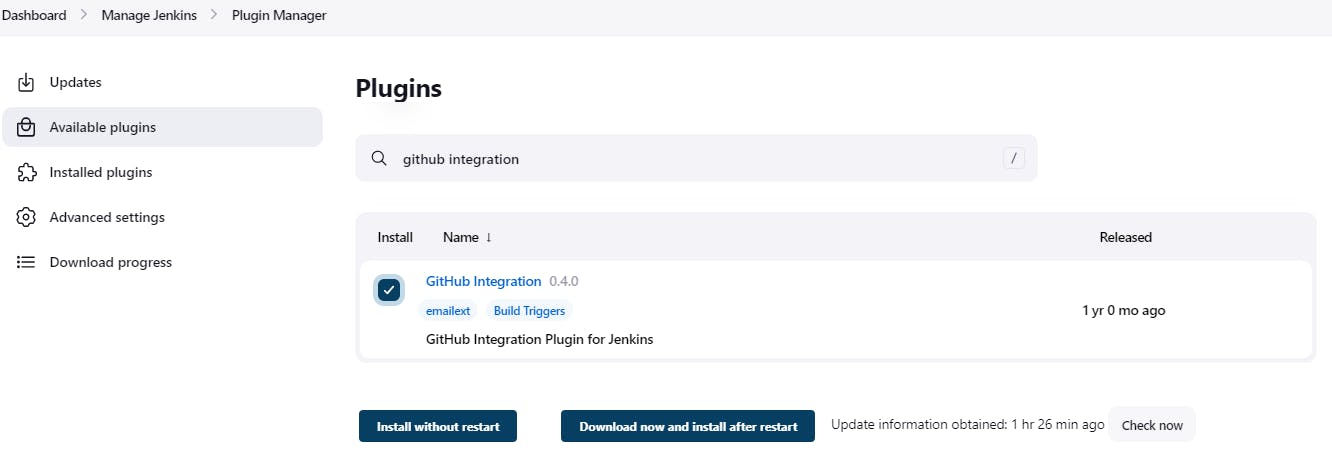
- For Installing GitHub Integration plugin in Jenkins
Open your Jenkins dashboard.
Click on the Manage Jenkins button on your Jenkins dashboard
Click on Manage Plugins
Install the GitHub Integration plugin
- To integrate your Jenkins and GitHub go to configure the system in the manage Jenkins tab. Find the GitHub section and add the GitHub server.
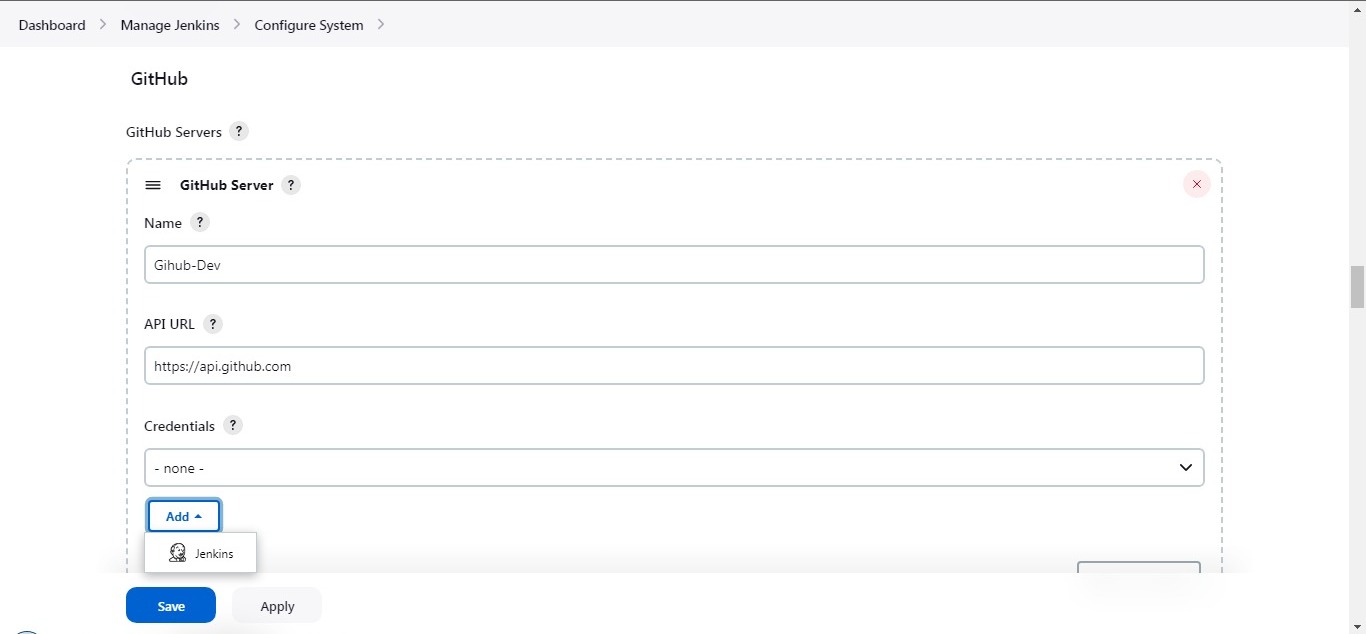
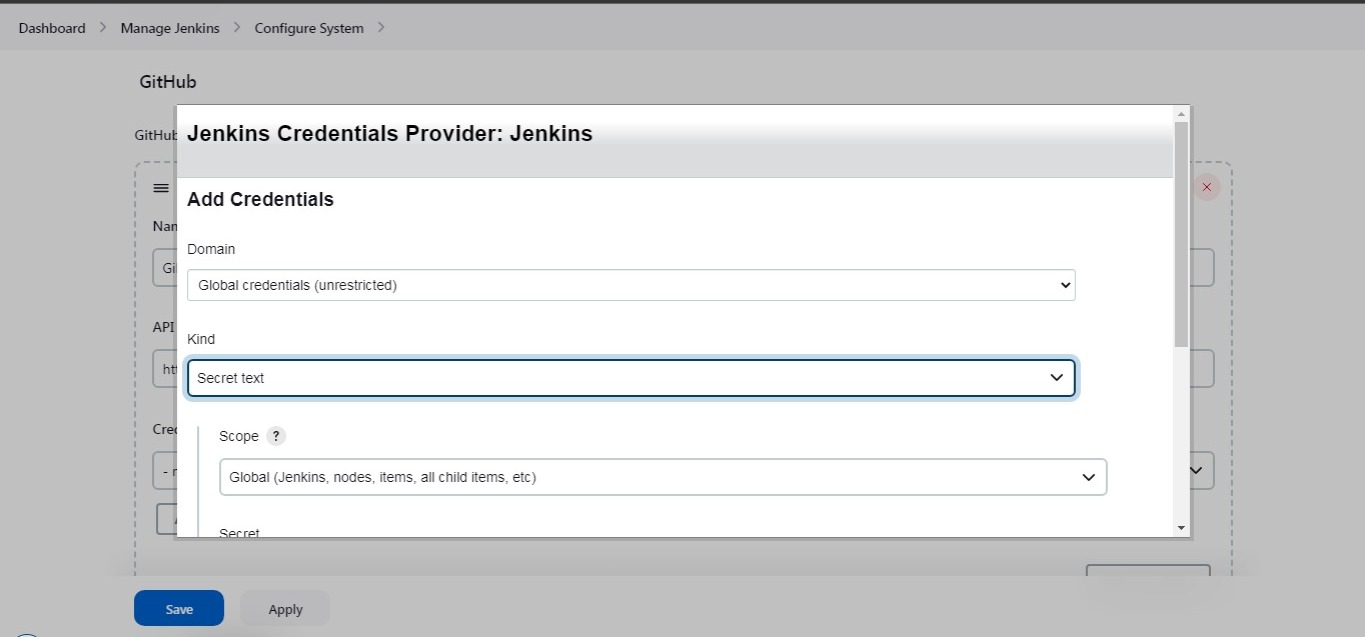
- Add Jenkins credentials, use secret text in which you will add your Github Personal Access Token
- Select your credentials from the dropdown menu of credentials and test the connection.

You can see that your GitHub is connected to the Jenkins server and your GitHub user name is displayed. Save the changes, by now you have integrated your Jenkins and GitHub successfully.
Read About GitHub WebHooks and make sure you have a CICD setup
Task-02
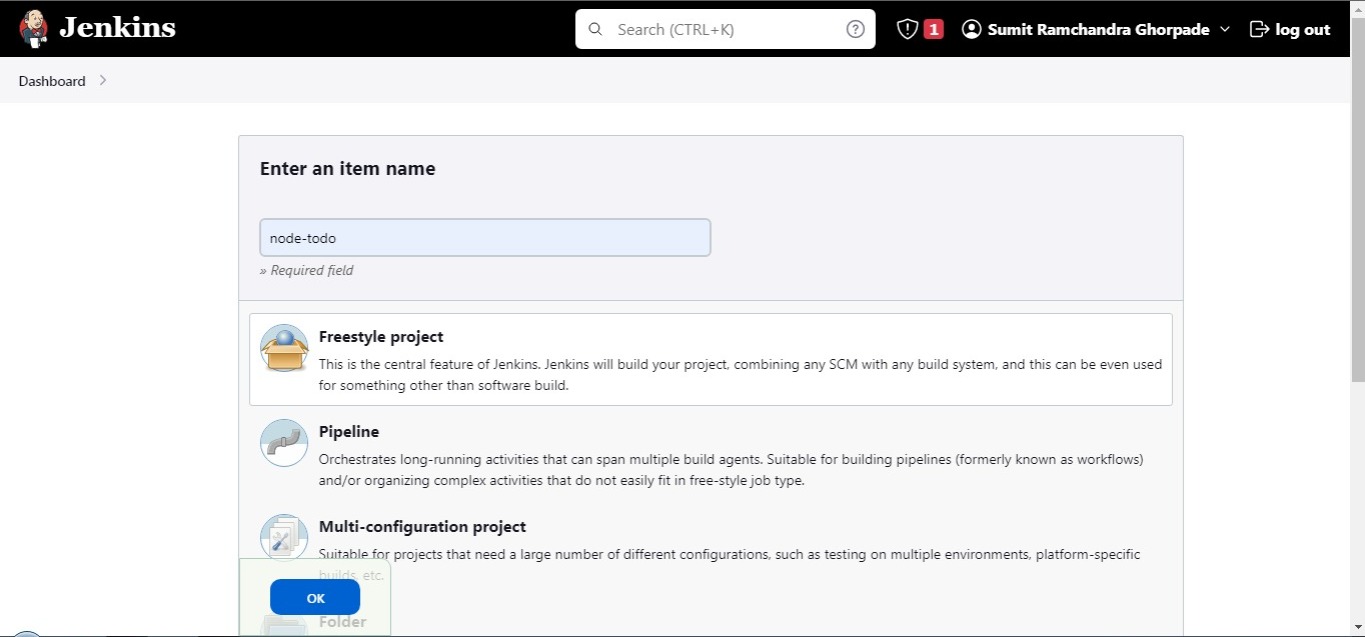
Creating a new Freestyle Project for the node.js application
go to the dashboard and create a new job.
Configure your project-
-Give it a description.
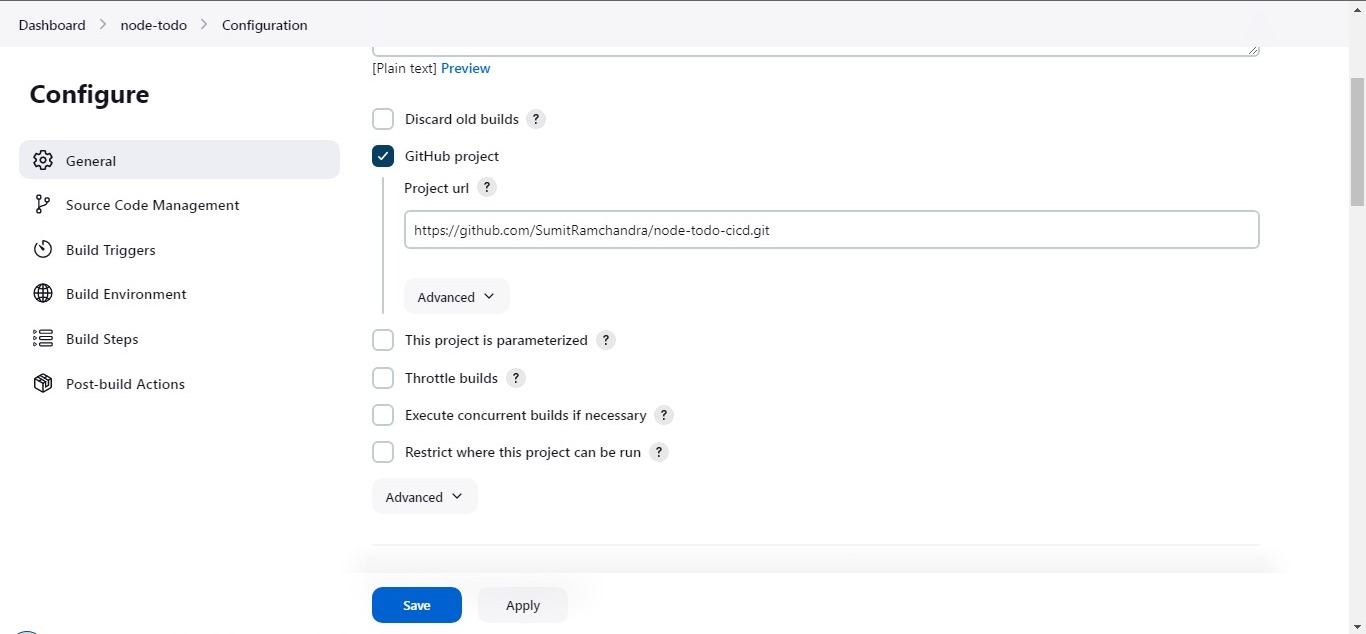
-Select the GitHub project in general and add your repository URL to the project URL.
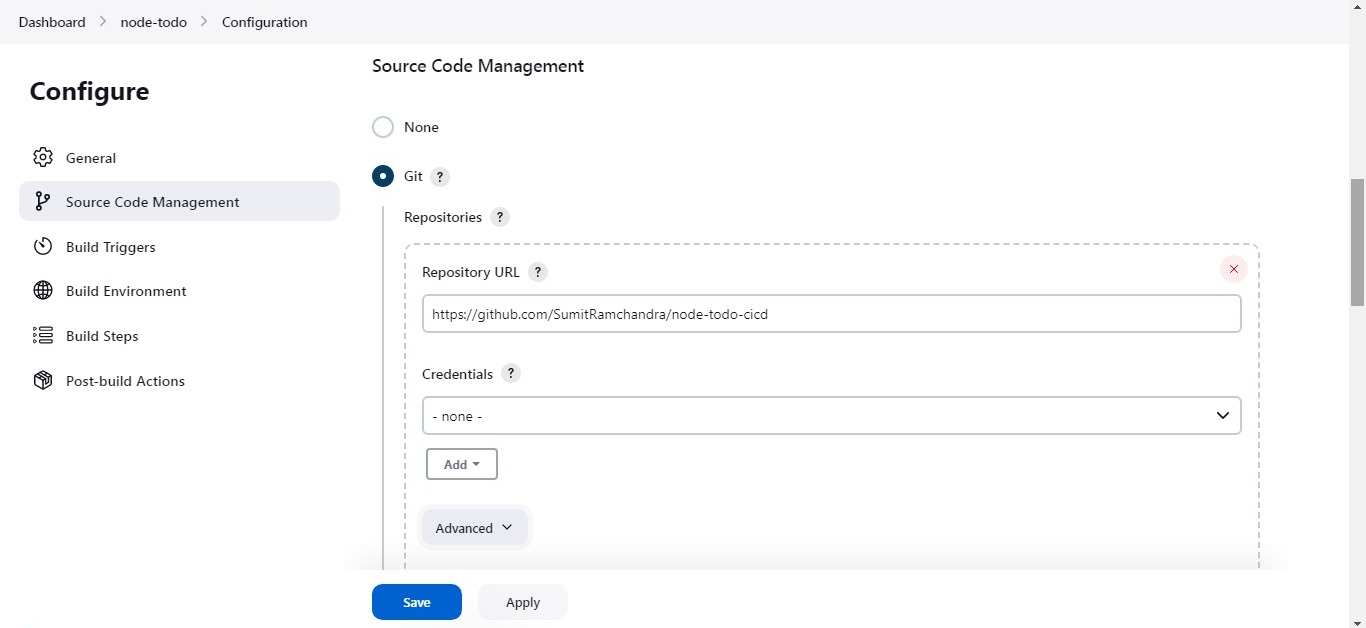
-In the Source Code Management, select git and add the details asked, leave the credentials section as we have already provided the credentials and it will automatically take the credentials.
-Specify the branch.
- You will have to make a Docker Compose file for this Project

- In the Build Steps section, Execute the shell to run the application using Docker Compose.
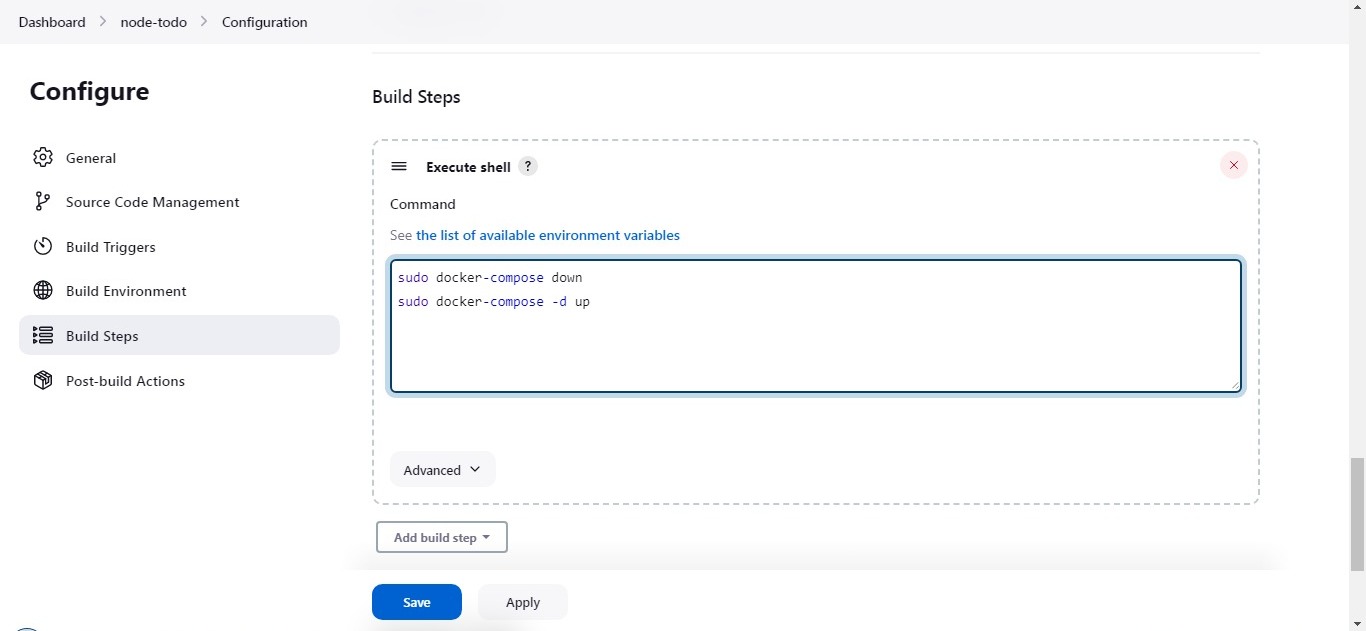
here, I am running sudo docker-compose down command first to stop the processes running on this port and then running sudo docker-compose -d up to run the application.
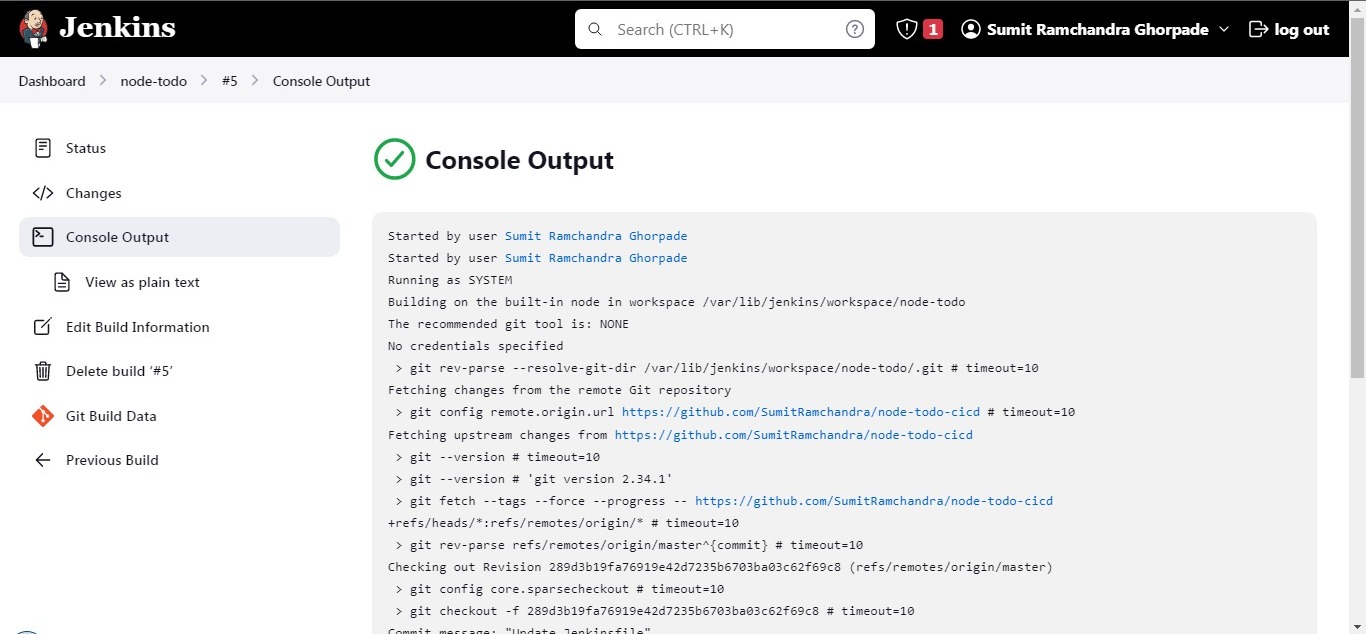
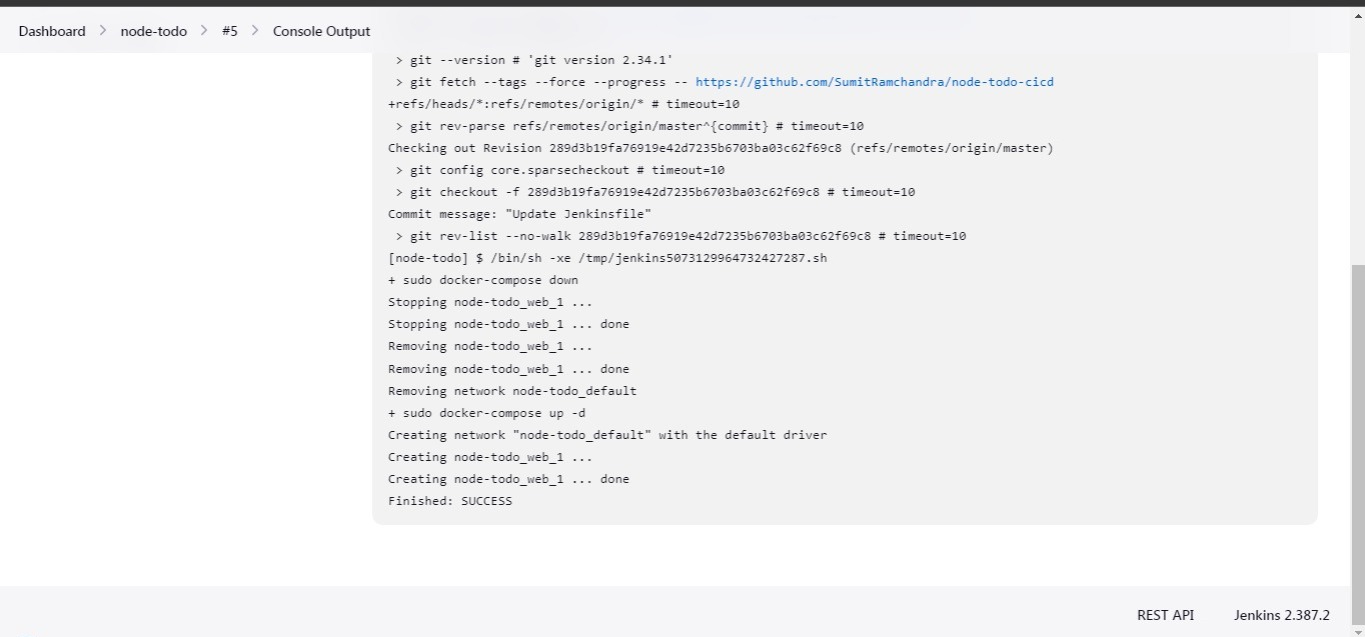
See the console output your project should be up and running successfully.
Open port 8000 with your IP (X.X.X.X:8000) to see the application.
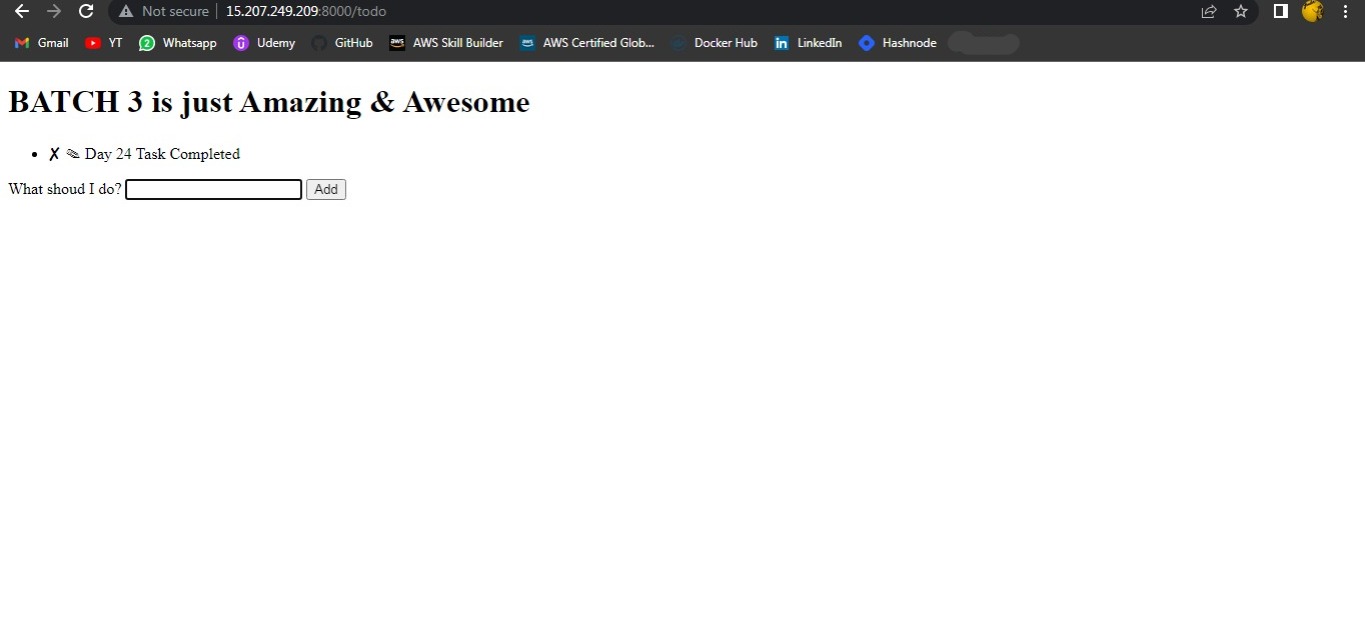
- Run the project and give yourself a treat :)
For Reference and the entire hands-on Project visit here
~~~~~~~~~~~~~~~
Hope you find this helpful. Thanks for Reading.
Visit my GitHub repository for source code and solutions.
Happy learning !!!
Suggestions are always welcome.
Thank You - Shubham Londhe


